How to Install Windows 10 on Your Mac with Boot Camp

How you ever thought about installing a Windows operating system on your Mac computer? Can you image how it feels to run a Windows operating system above Mac OS X? Thus, today, we’d like to introduce a very simple and easy way to install a Windows operating system on Mac computer with Boot Camp, and you will use it in daily life, keep on reading now.
Mac vs. Windows. Windows vs. Mac, which will win for you to choose in case you’ve only got one computer? Why choose when you can get the best of both worlds by dual-booting? Here’s how to install Windows on your Mac using Boot Camp so you can jump back and forth between the two operating systems on the same computer.
We’ve got better help from Apple Support:
What You’ll Need
Before you begin, make sure you have everything you need:
- An Intel-based Mac
- A Microsoft Windows installation media or disk image (ISO) containing a 64-bit version of Microsoft Windows 8 or later
- An Apple keyboard, mouse, or trackpad, or a USB keyboard and mouse
- At least 55GB of free disk space on your startup drive
- A blank 16GB or larger USB 2 flash drive
Install Windows 10 on Your Mac
1. Download the Windows 10 ISO disk image from Microsoft using this link. Choose the 64-bit version of Windows. You might need to create a disk image of it to work with Boot Camp. If your version of Windows came on a USB flash drive, you can download an ISO from Microsoft by clicking here.
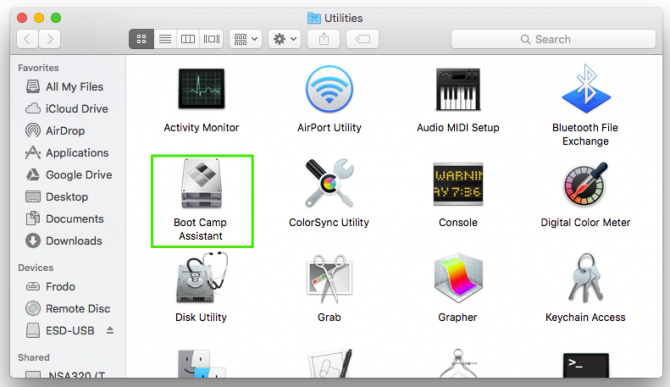
2. Open Boot Camp Assistant. Launch Finder << Application then select the Boot Camp Assistant, if you can’t find it any more in the Application folder, please type its name in the search box at the top right corner, or you can hit CMD + Spacebar to search for “Boot Camp Assistant.” And you’ll find this in the Utilities folder.
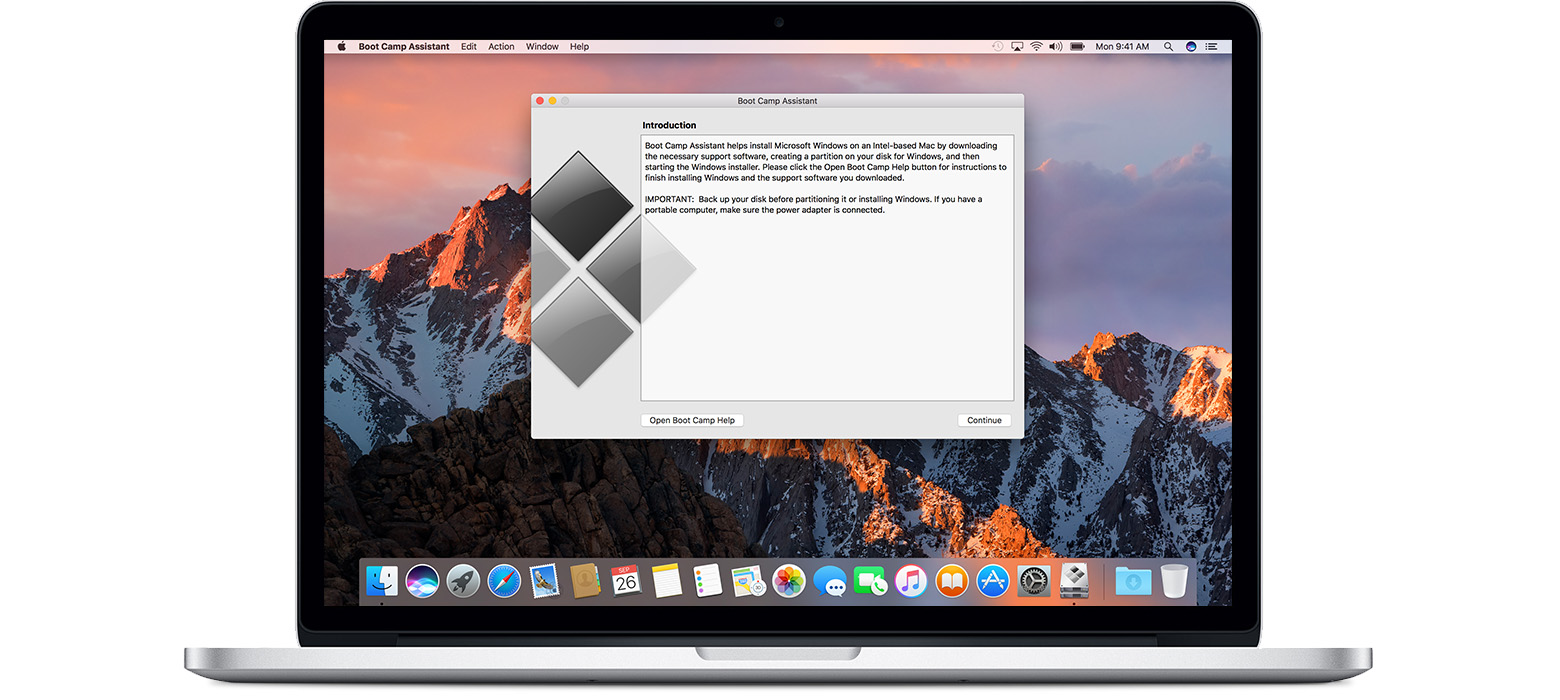
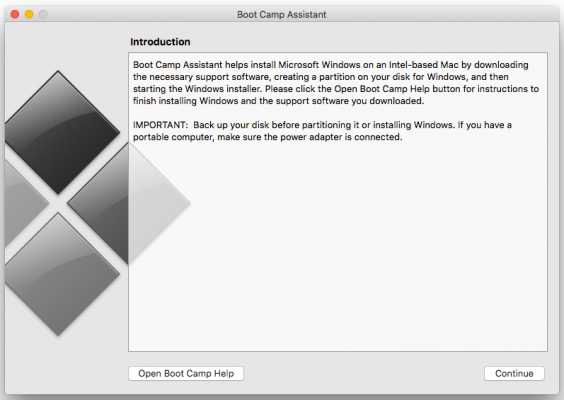
3. Click Continue at the Introduction screen.
4. Click Continue again at the Select Tasks screen.
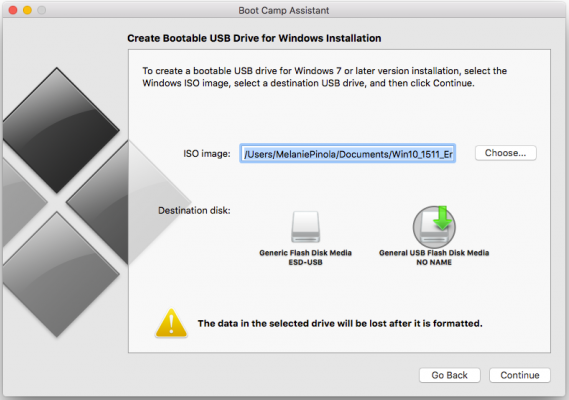
 5. Choose the Windows ISO image and select the destination USB drive. Note that the USB drive will be reformatted, so make sure you have a copy of any of the files on it somewhere else before proceeding.
6. Click Continue and then Continue again. Your Mac will format the USB drive and create the Windows installation media.
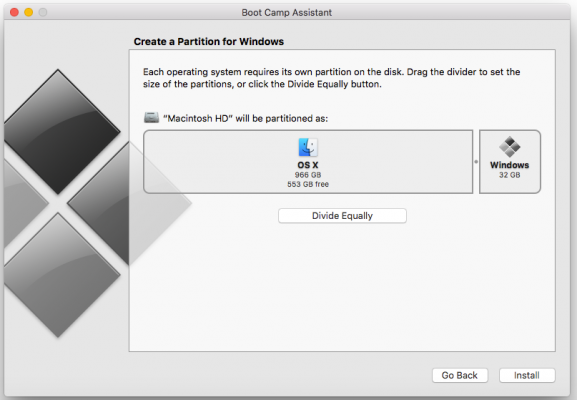
7. Click Install to accept the partition size for each OS and confirm the installation.
8. Follow the prompts to finish installing Windows. The Mac will need to restart to complete the process.
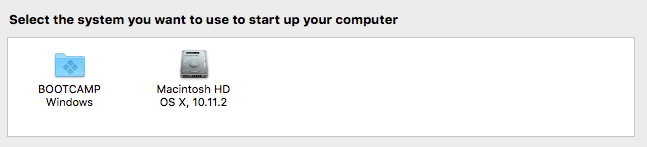
After Windows is installed, use the Startup Disk preference pane in macOS or the Boot Camp system tray item in Windows to select your startup disk, and then restart your computer. So if you need to switch between macOS and Windows system you just need to restart the computer, or choose what you like at the begin of Boot.
Now have the interest to install a Windows 10 operating system on your Mac and switch whenever you like?